This is my dovetail box project that I made as a Christmas gift for my daughter. I had only cut one dovetail joint before as a test, so this would be the first actual box I have attempted.
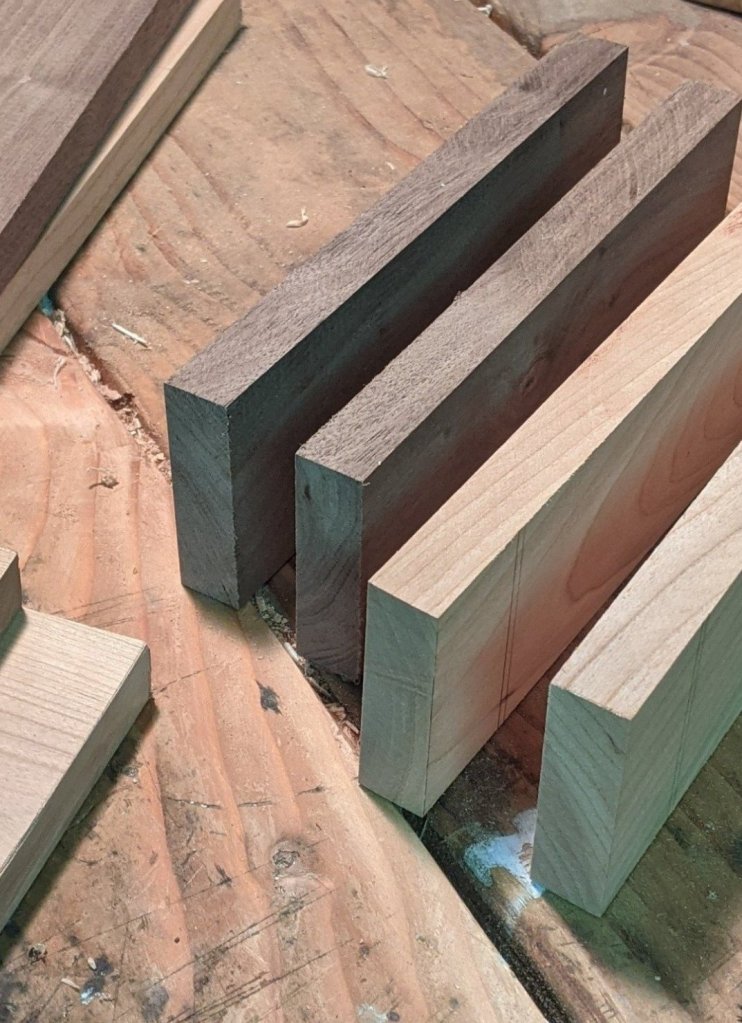
My local woodworking shop had a bin of walnut and cherry, and I thought they would give a good contrast to highlight the dovetails.
I had lent my table saw out for a few days, and initially cut the pieces with a Japanese pull saw, but I just didn’t get the cuts perfectly square, so I waited until I had the table saw back and re-cut them to square up the ends.
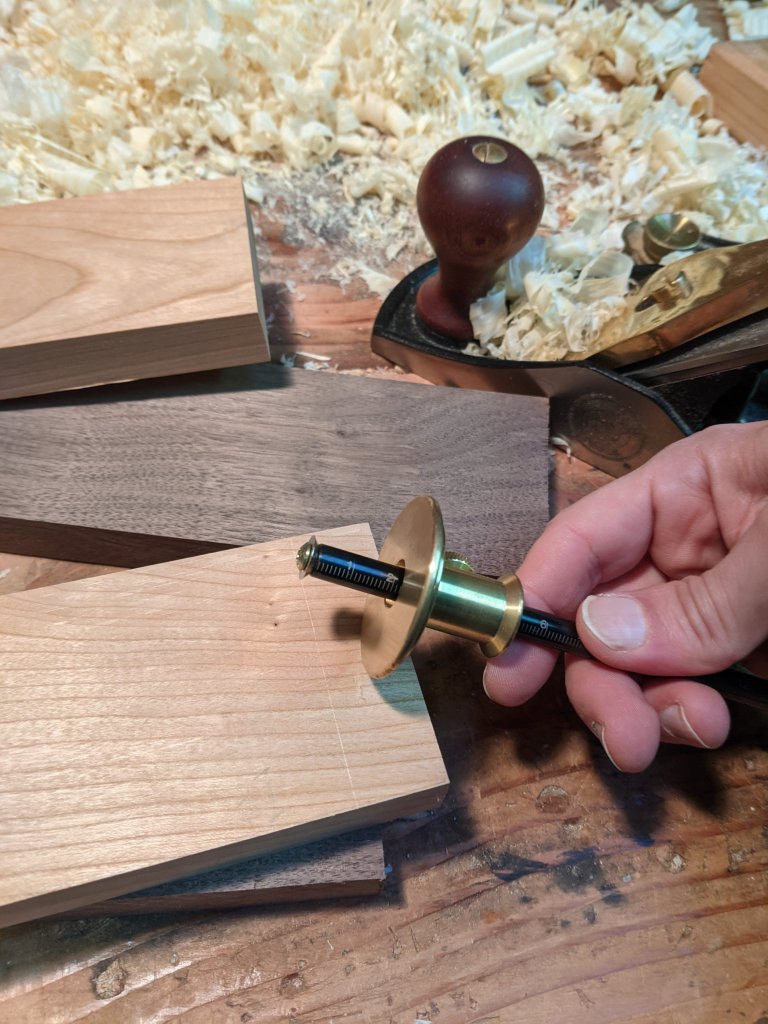
Now I get to use the new marking gauge for the depth of the pins and tails.
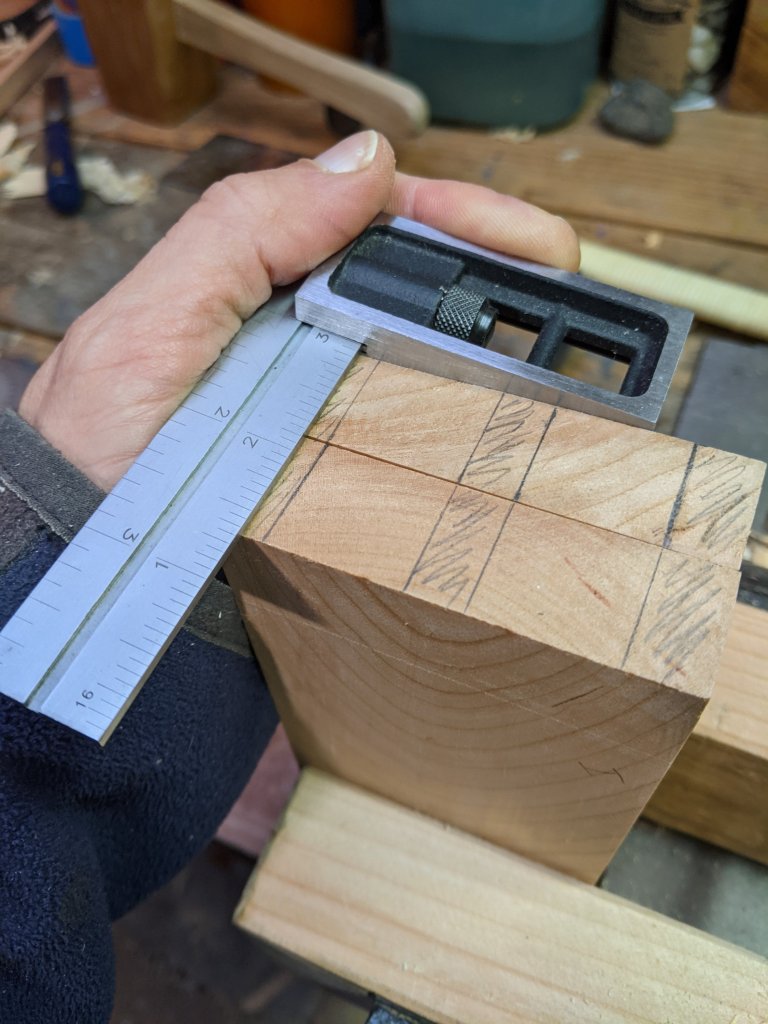
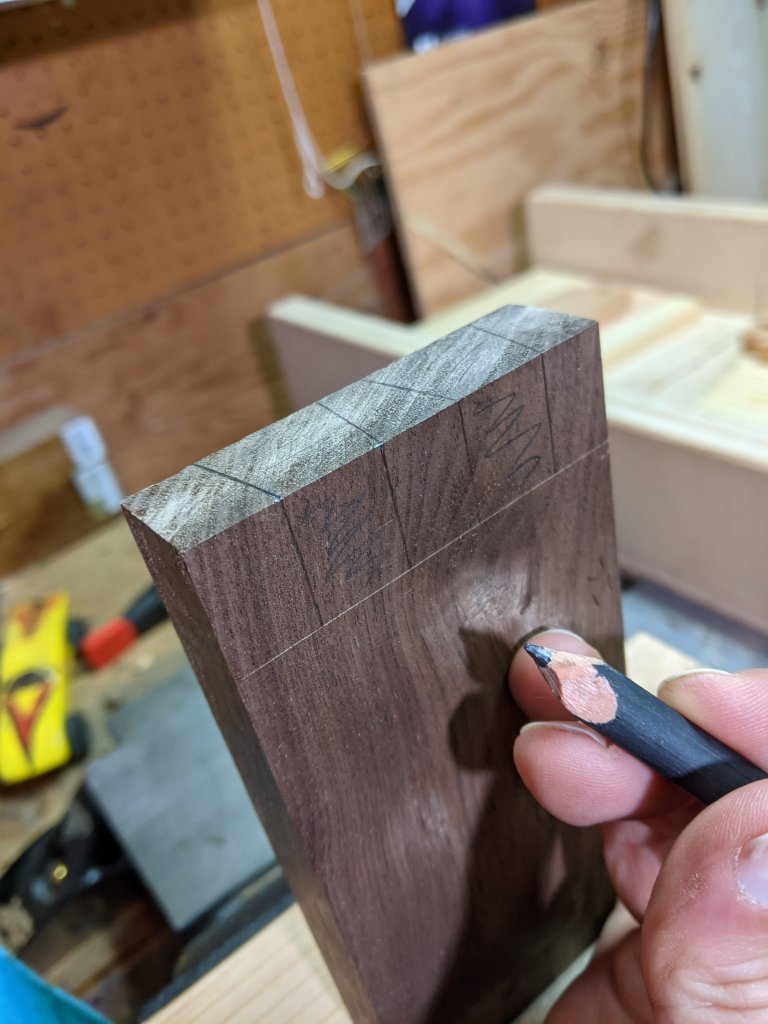
Laying out the width of the tails.
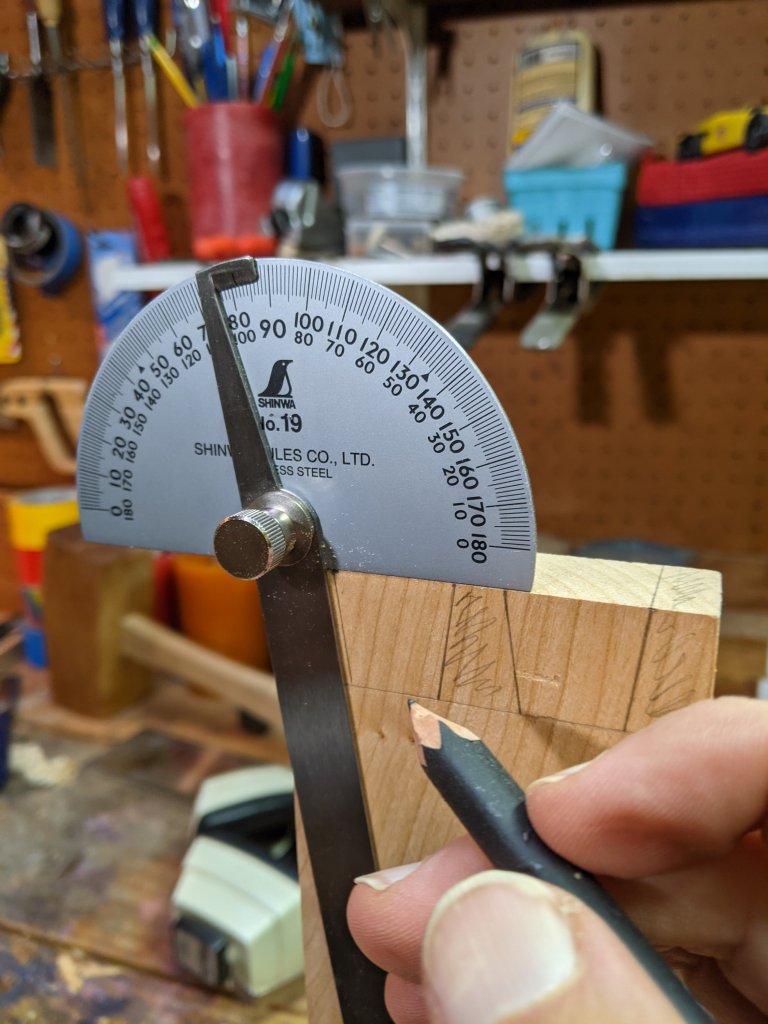
And now for some trigonometry… Had to think about how to get the angle for a 7 to 1 dovetail profile. Inverse tangent.
Cut the tails and then chisel down to my drawn lines.

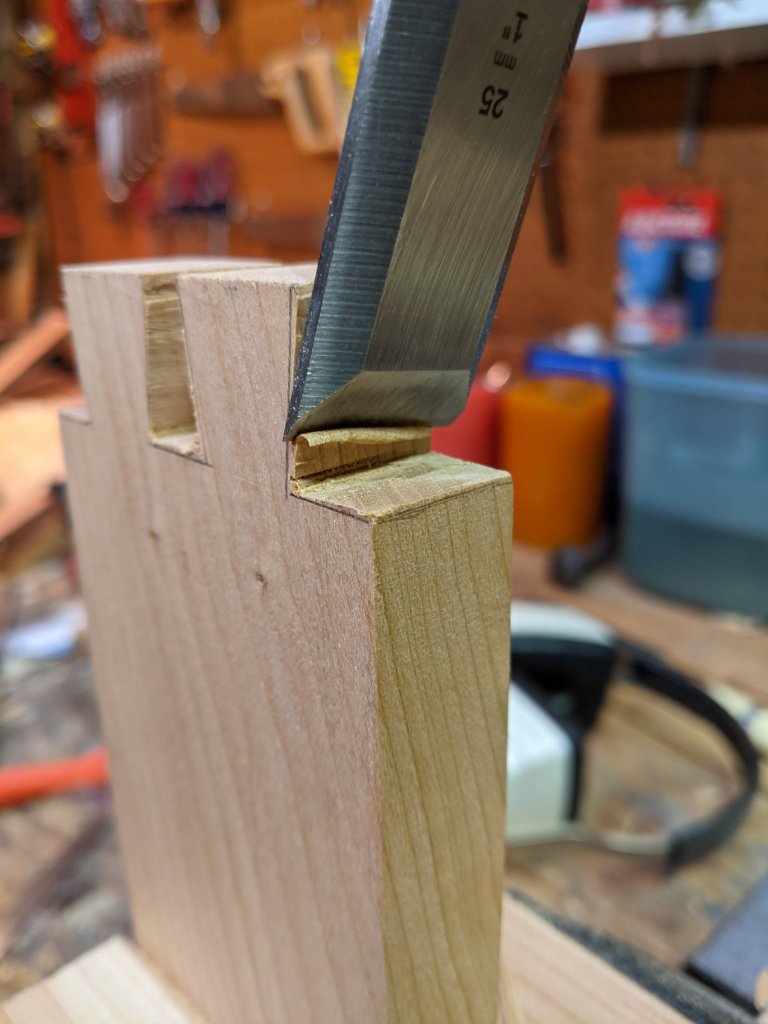
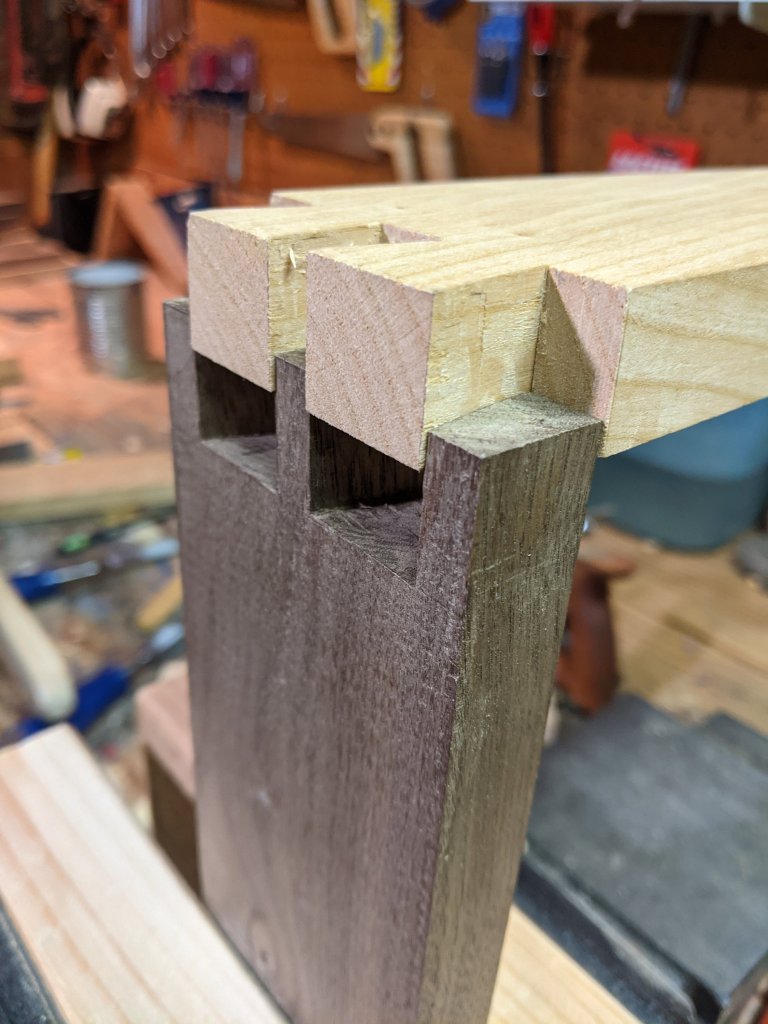
Repeat on the other side and that’s one tail board done. Now for a pin board using the walnut.
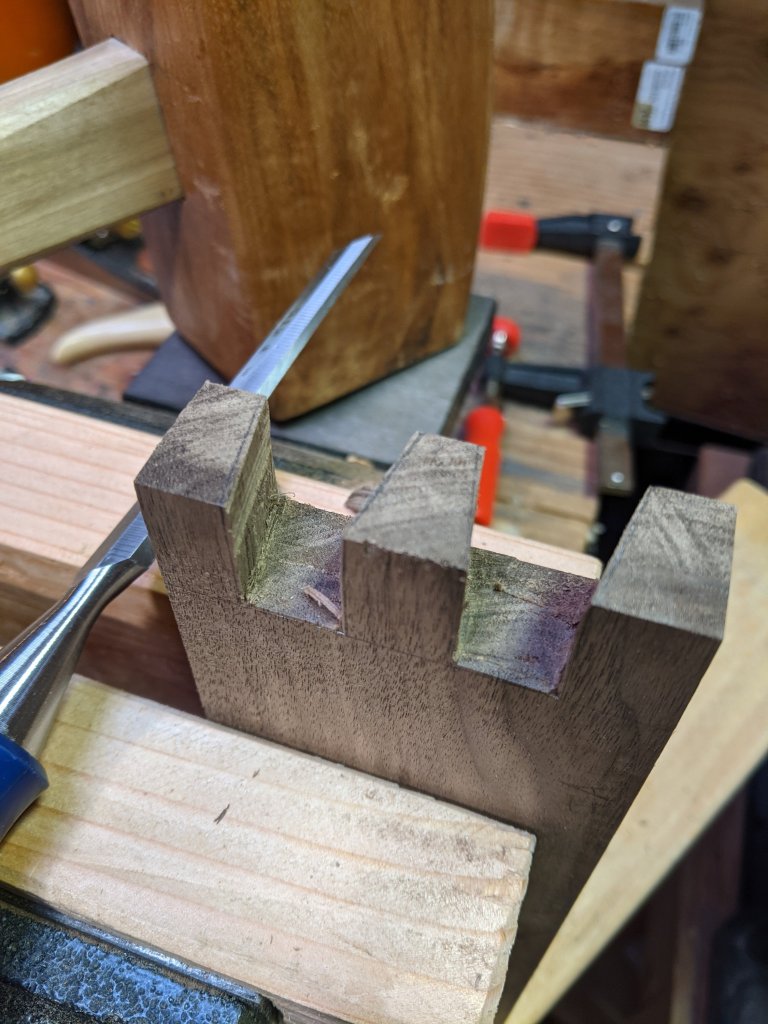
Chisel that one down to the lines.
Test fit. Too tight, so I’ll have to shave some off later. But I’ll do the other 2 boards first.
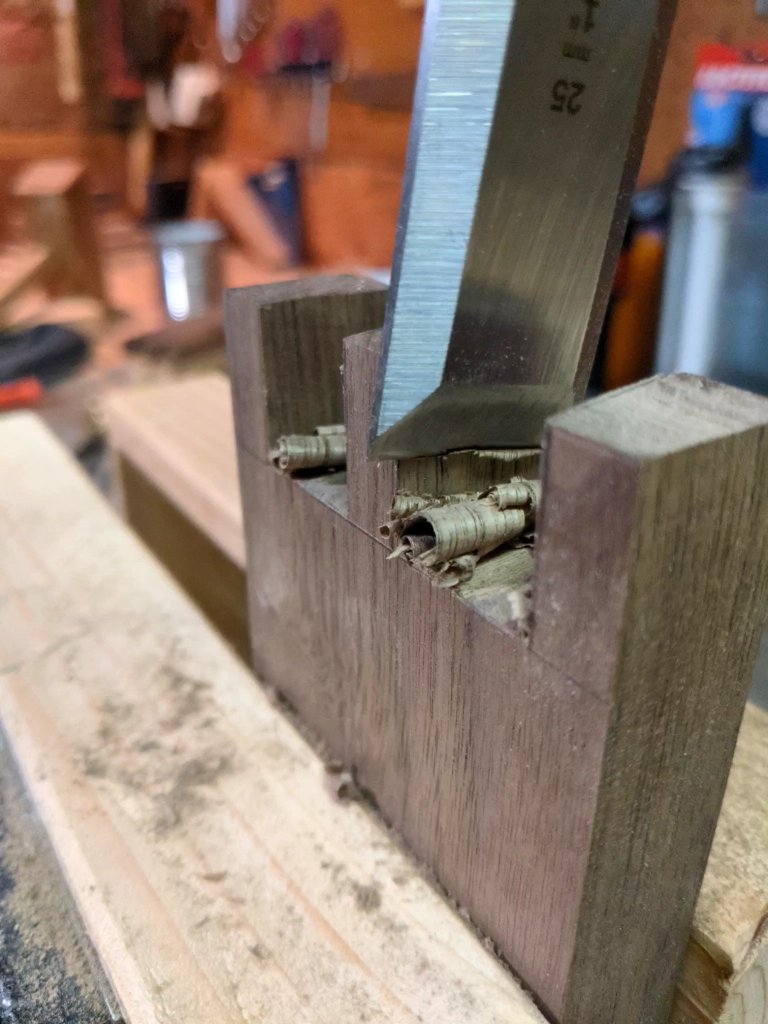
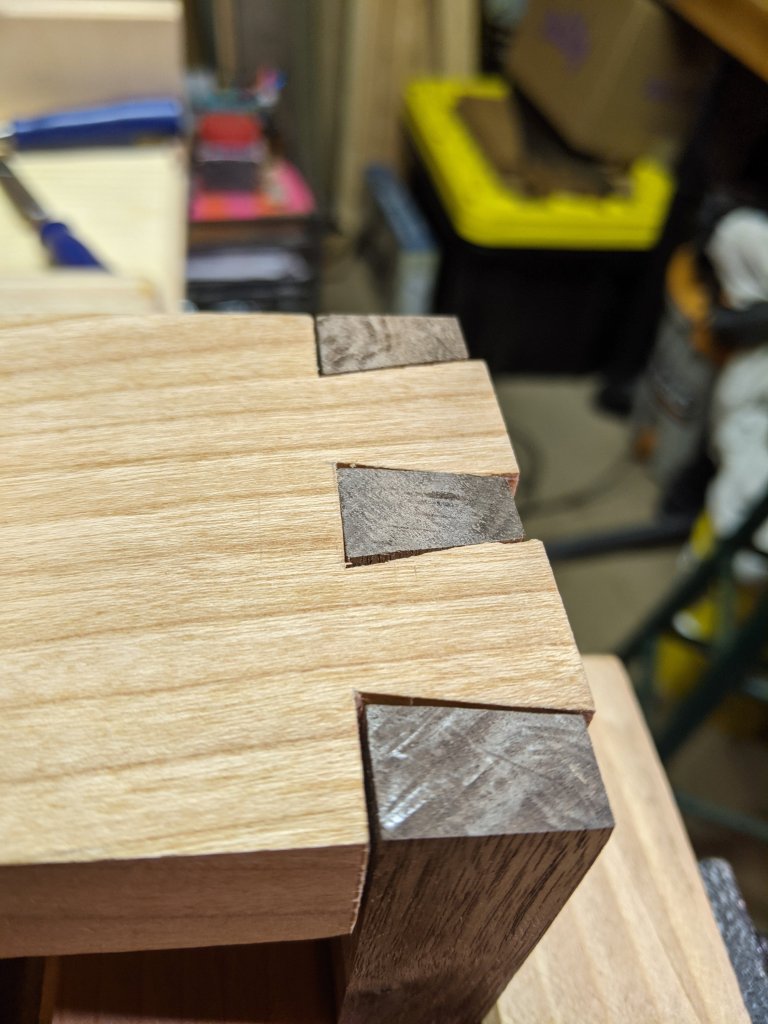
Since the first set was really tight, I cut closer to the lines and chiseled a bit more liberally on this one…
Holy gaps Batman! Oh well, no putting the wood back so let’s keep moving.
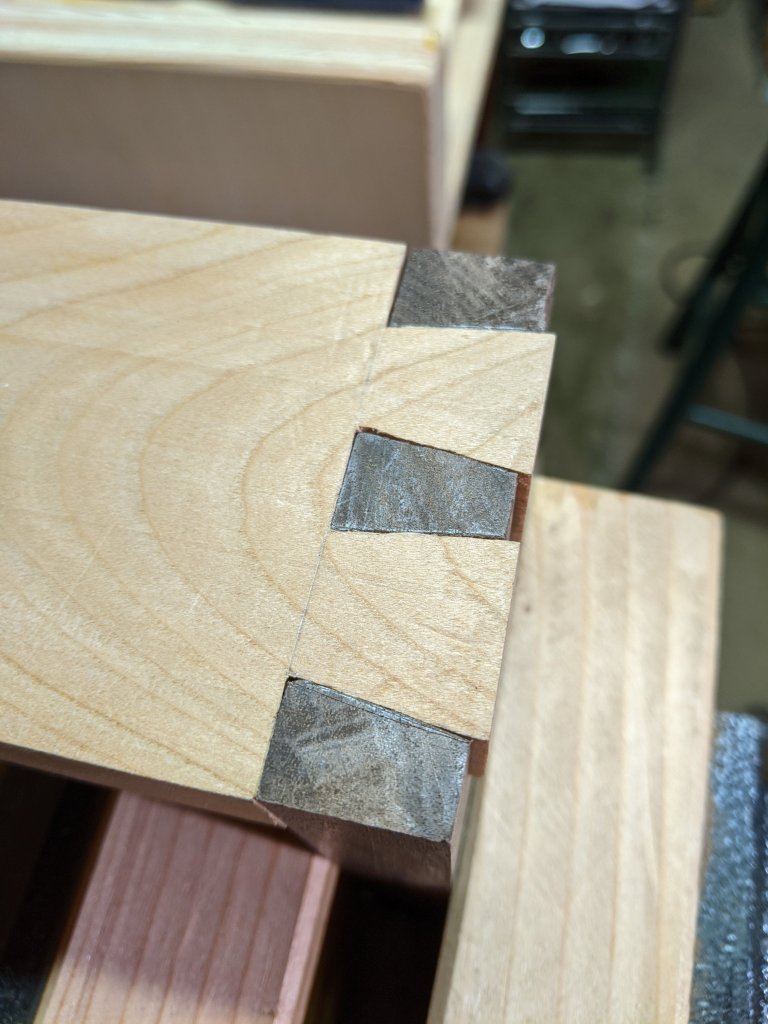
After the huge gaps on that one side, I slowly shaved down the others, test fitting and adjusting. It took forever, but made for a tighter fit.
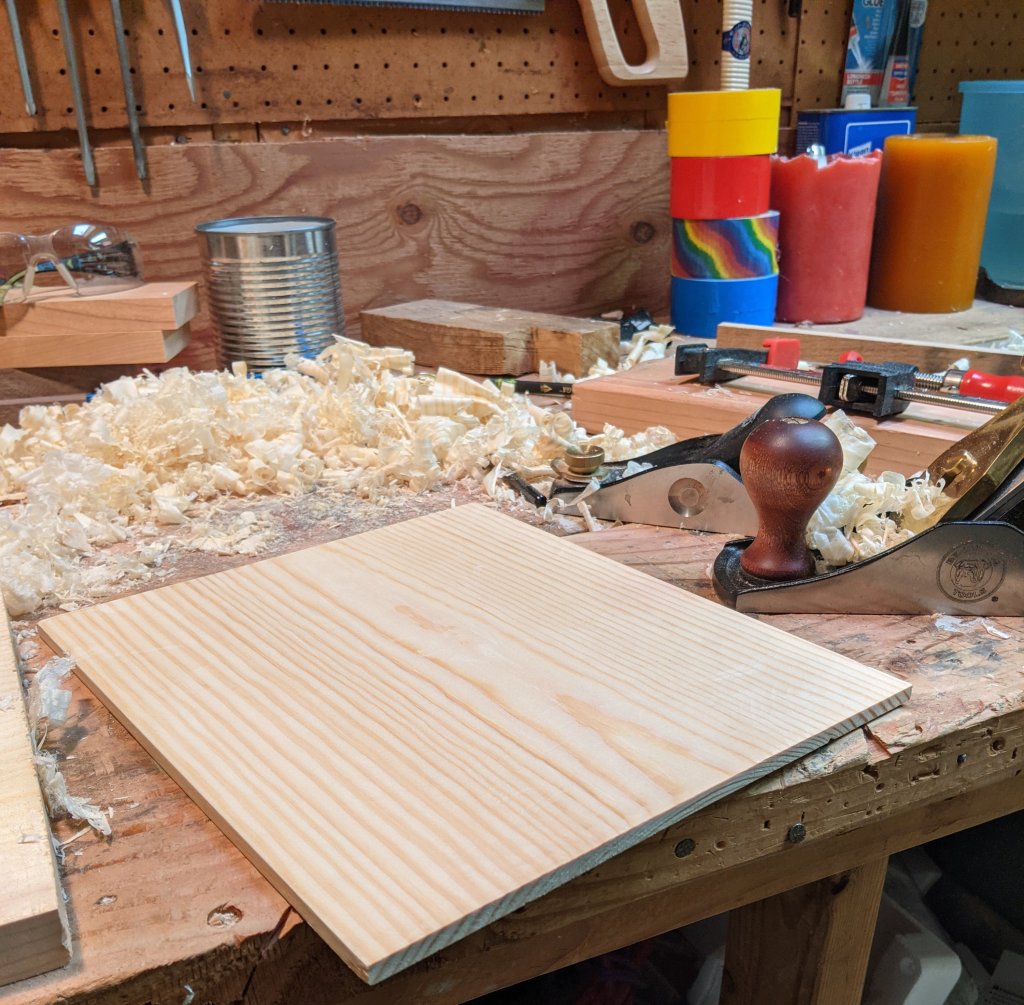
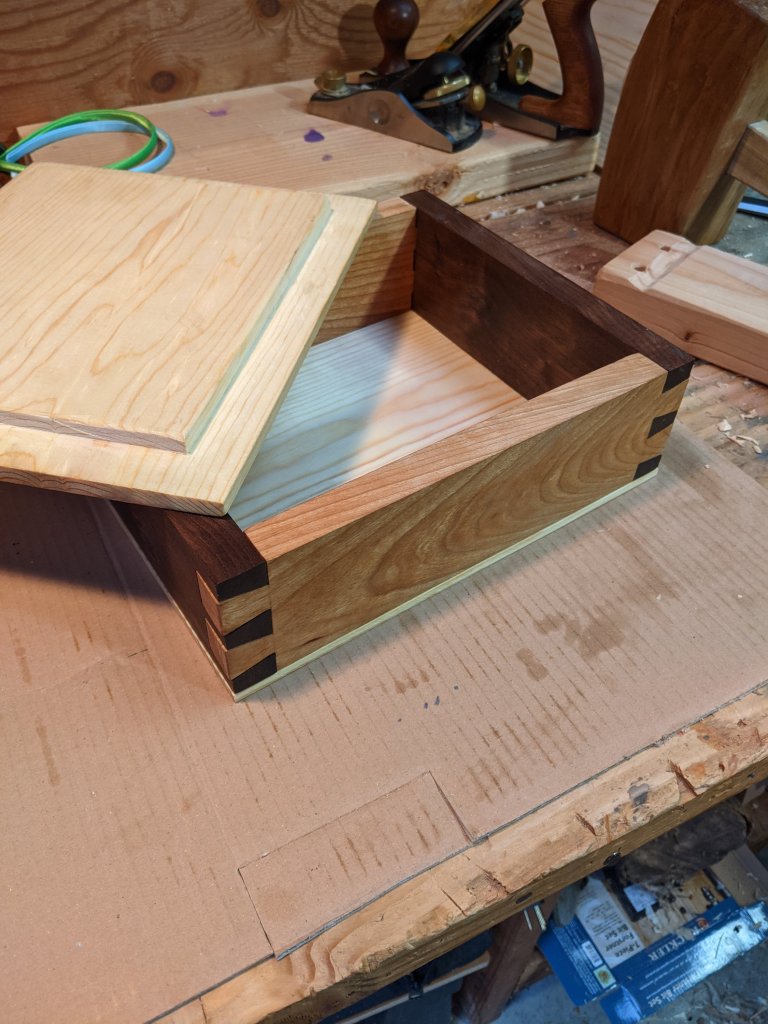
I had a 3/4 inch board of Doug fir that was wide enough for the lid and bottom. I re-sawed the bottom to get a thinner piece. And planed it down to mostly flat. The board was warped and I didn’t get it completely flat by hand, but I think it will work.
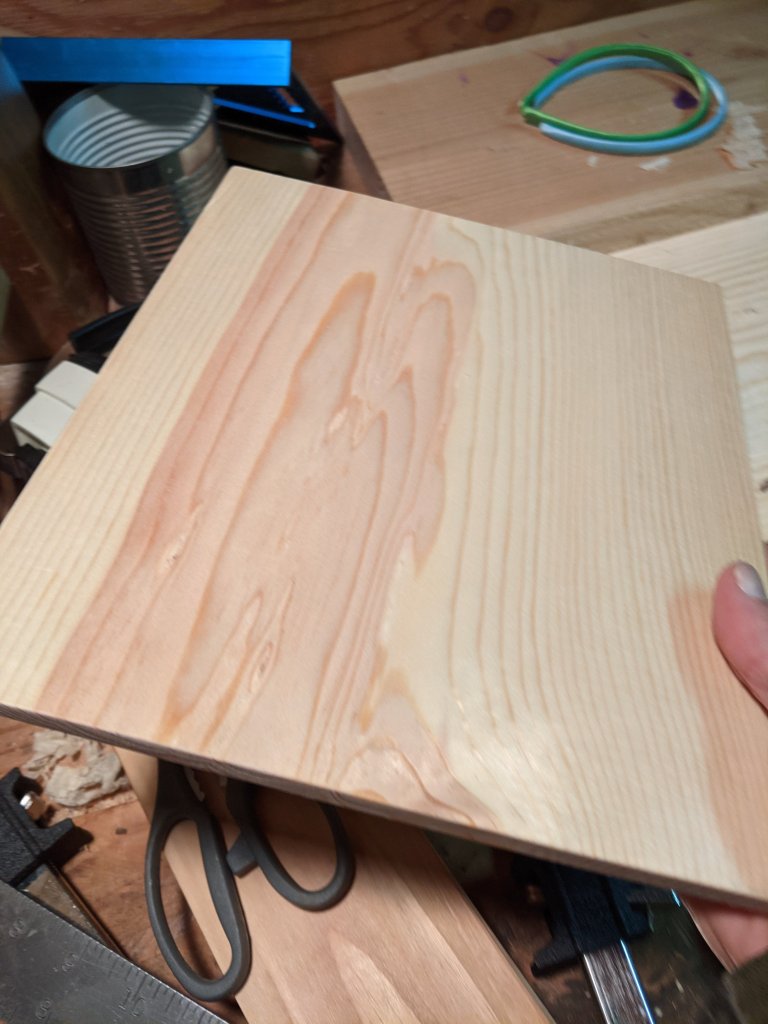
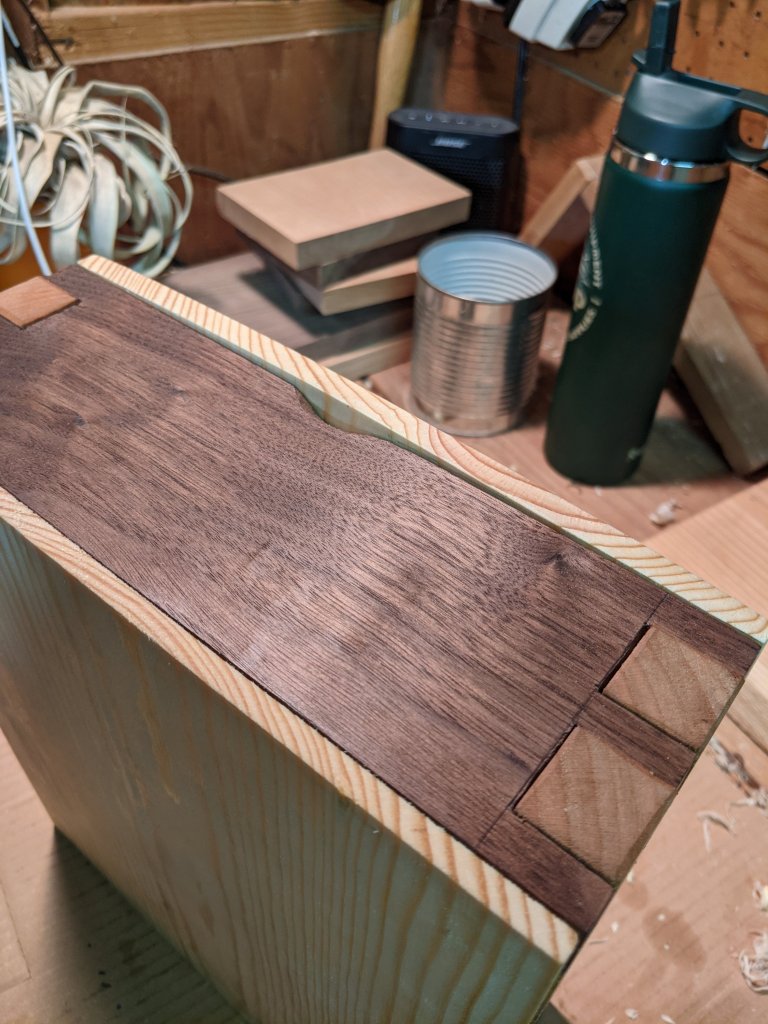
For the top, I’ll cut the edges down and leave the full 3/4 thickness in the middle to make a fitted lid. I used the table saw to get a consistent depth around the edges.
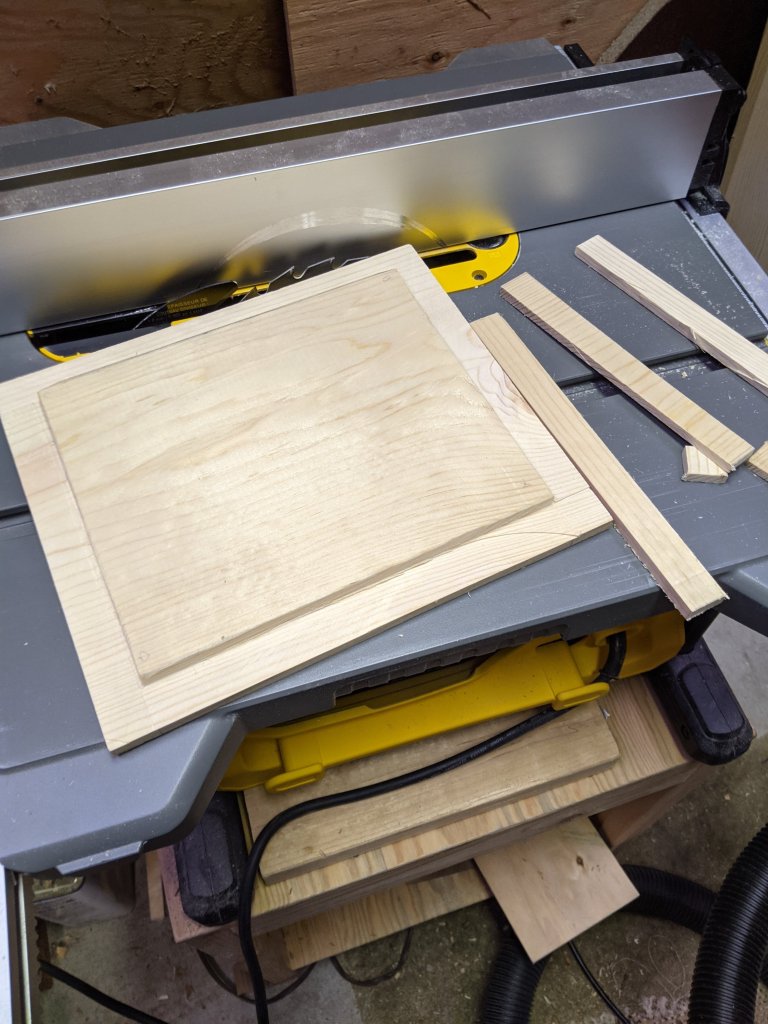
I picked a part of the board that had some of the heart grain which was a darker color, thought it would make for a more interesting lid grain pattern.
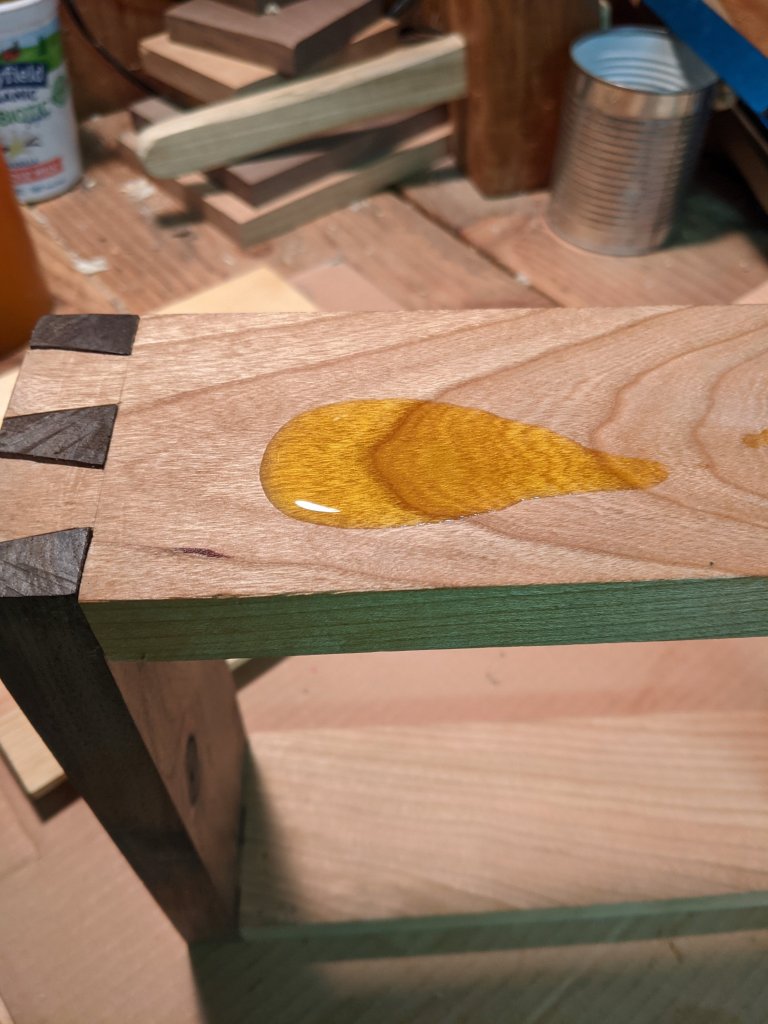
I used boiled linseed oil for the finish.
Test fit and then glued the bottom.
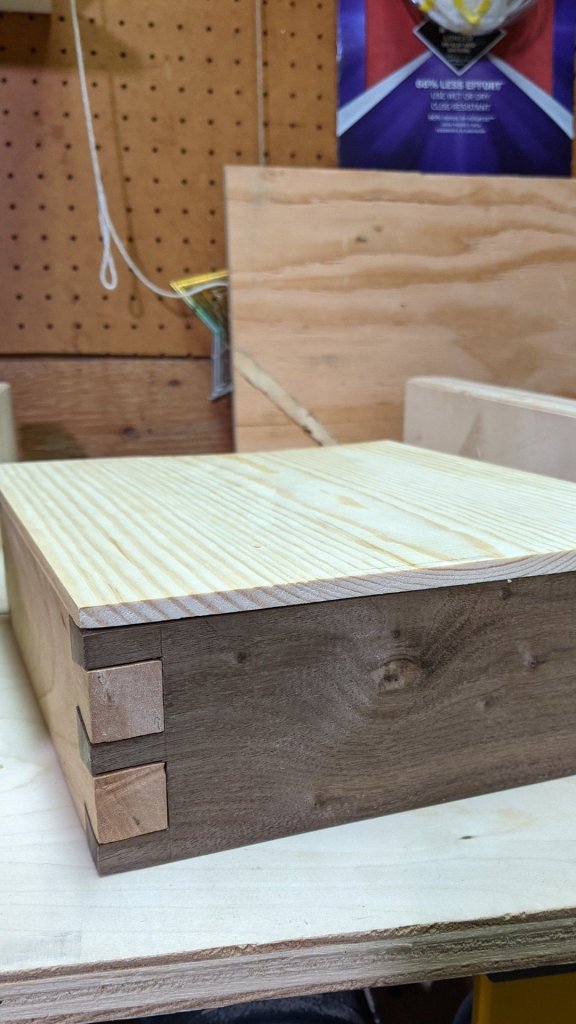
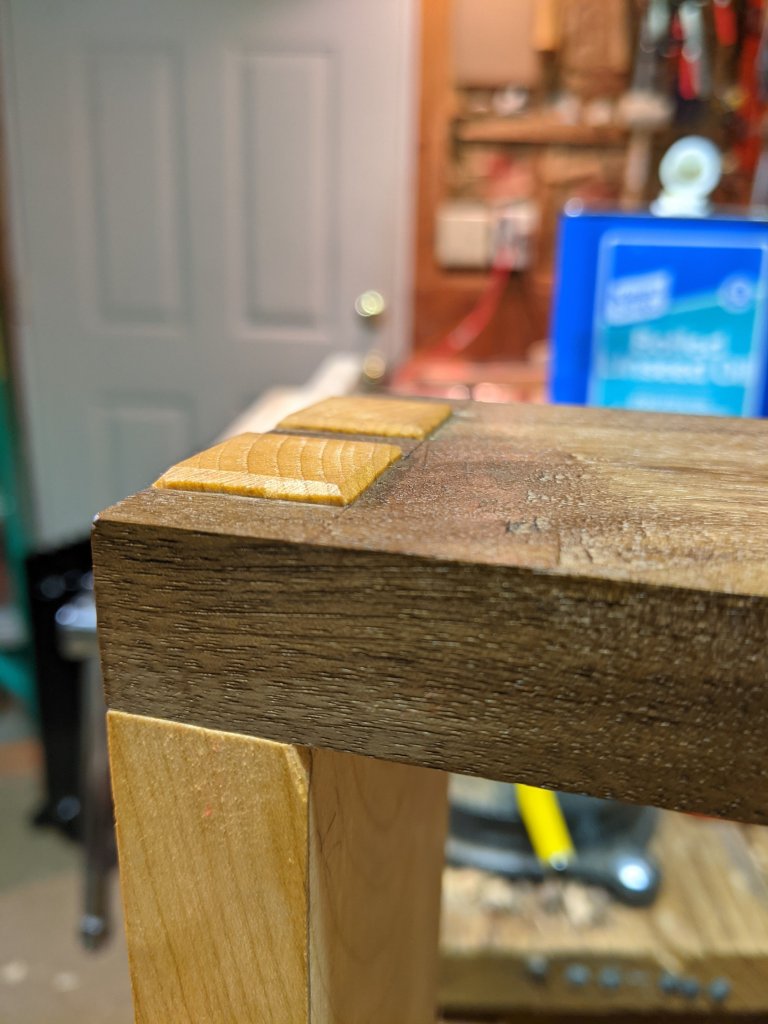
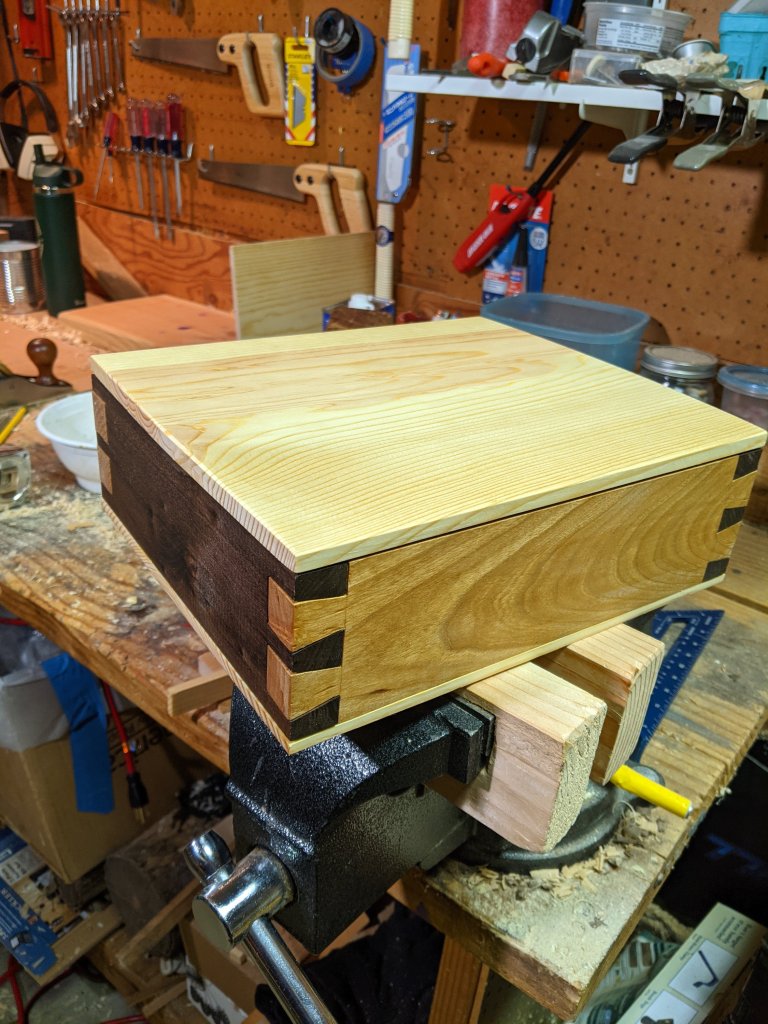
I had measured out the tails to be proud of the board thinking I would plane it down flush, but I got some tear out when I started with the plane. So I got scared the I would make a mess, and decided to leave the tails proud and just chamfer the edges.
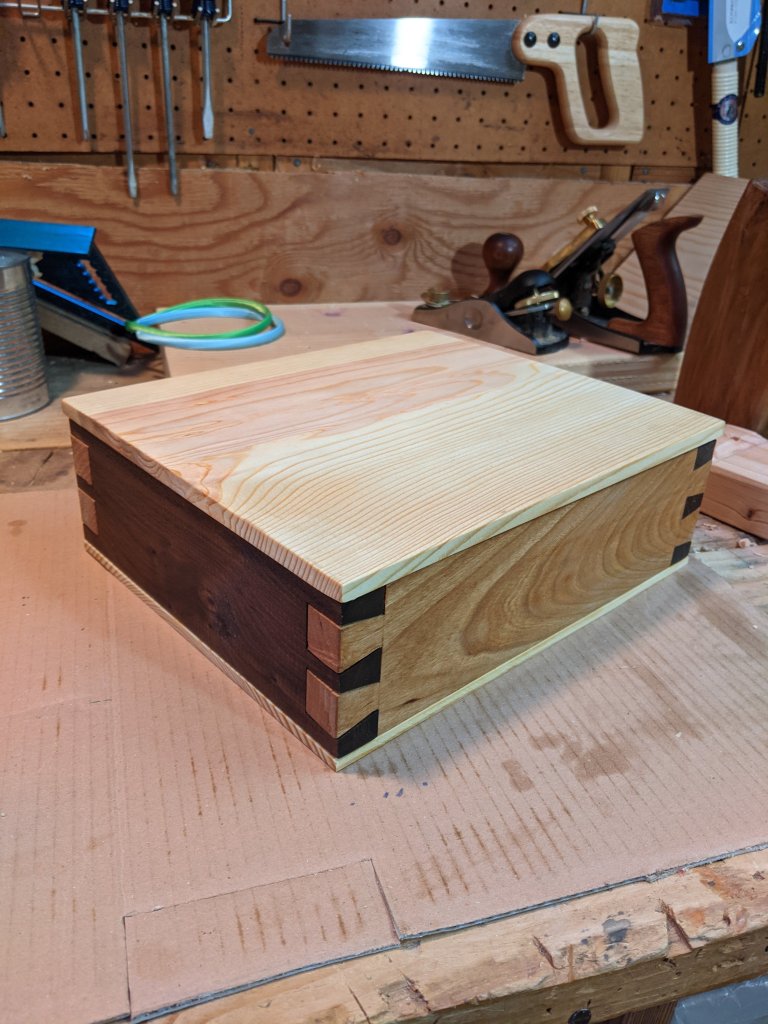
And here is the finished box! Overall I like the results.
Update: I didn’t really like the look of the lid overhanging the sides, so I trimmed down the front and back edges of the lid, and rounded the other edges to keep a little overhang in the center of both sides, and then carve out a recess in the side to help your fingers get under the lid to open it.
I think that looks better. It’s a minor change but I like the more flush profile.

Awesome box! So much work!!!
LikeLike